Openconnect is no longer supported, refer to the official instructions in the Official RU VPN instructions
OpenConnect VPN client installation guide
These instructions guide you through the process of downloading and installing Open Connect which is an open source VPN client.
For Windows
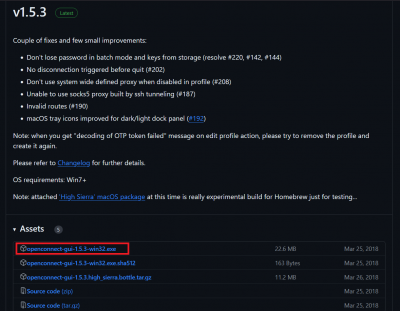
- Please go to https://github.com/openconnect/openconnect-gui/releases and scroll down to Assets.
- Choose the one that is on the top of the list (as seen in the red box in Figure 1) and the downloading should start automatically.
- When the download is complete open the downloaded installer and follow the instructions, choose Allow → Next→ I Agree.
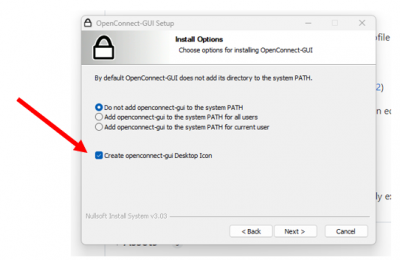
- Mark the option for creating a Desktop Icon as shown in Figure 2 and then click on Next until you get to Finish and the installation will start.
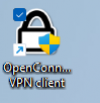
- Now the installation is complete and you can find the OpenConnect VPN client on your Desktop. The icon is seen in Figure 3.
For Mac OS
- Please go to https://github.com/openconnect/openconnect-gui/releases.
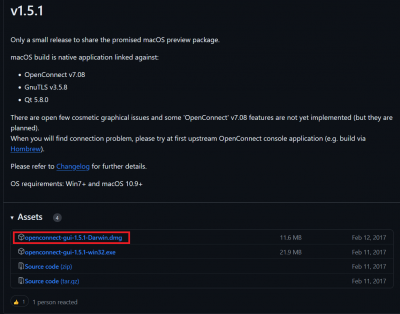
- Scroll down to v1.5.1 and click on Assets
- Choose the one that is on the top of the list (as seen in the red box in Figure 4) and the downloading should start automatically.
- Once the dmg file is downloaded, install it in the same manner as you typically install applications on your computer.
The next set of instructions should be similar for Windows and Mac
Note: the application you installed may look differently than the one shown in this guide.
Open the OpenConnect VPN client by clicking on the icon.
Figure 4 shows the window when the OpenConnect VPN client is opened and it allows you to select a server. The first time you open the GUI you will have configured no servers. To configure a server, you need to click the small cogwheel button on the right side of the sever dropdown list (red). In the drop down list you select New Profile.
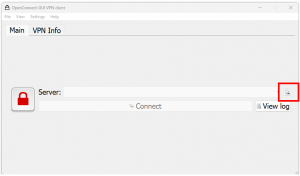
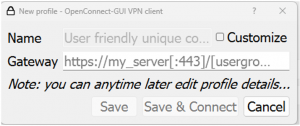
Figure 6 shows the window that pops up after selecting New Profile.
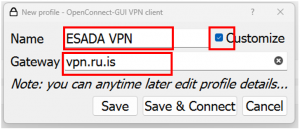
You need to check in Customize and type ESADA VPN in the Name window and vpn.ru.is in the Gateway window and then select Save. Figure 7 shows the correct configuration.
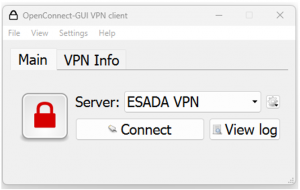
After saving the profile, everytime you open the OpenConnect VPN client you will see the window shown in Figure 8.
when you select Connect you will get the window seen in Figure 8 and as you can see in GROUP it should say RU. If not select it from the drop down list.
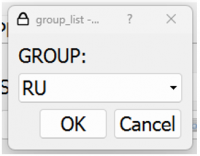
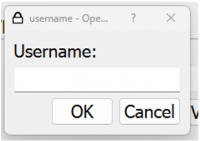
After clicking on OK you will be asked for username and password (provided by Sleep Revolution team). The username should be your_username@sleep.ru.is where your_username is specific to each center.
After login the VPN is connected and you are now able to upload studies via the portal and log into the virtual scoring machine.